In brief
- Choose the backpack volume according to the length of the hike. 20–30 litres is enough for a day hike; for a short walk, use a smaller bag.
- Place the heaviest items close to your back, at about shoulder-blade height. Put light and bulky items at the bottom, and items you will need on the way at the top.
- Most of the weight should rest on your hips, not your shoulders. Adjust the straps in a set order.
- Pack items in waterproof bags. A rain cover alone does not fully protect a backpack.
What size of backpack you need
| Hike | Volume (approximate) | What it contains |
|---|---|---|
| A walk of a couple of hours | 10–20 l | Water, snacks, jacket, phone |
| Day hike | 20–30 l | Also a warm layer, rain clothing, first-aid kit, food |
| One or two nights | 30–50 l | Also sleeping bag, sleeping mat, tent or tarp, stove |
| Multi-day hike | 50–70 l | More food and clothing, spares |
A larger backpack is heavier in itself and encourages you to take unnecessary items. If your items fit into a smaller volume, choose a smaller backpack.
For backpacks with a volume of more than about 30 litres, it is important that the length of the back section suits you. Back length is measured from the most prominent vertebra at the base of the neck to the level of the top edge of the hip bones, and compared with the manufacturer’s size chart. On many backpacks the back length is adjustable.
How to pack a backpack
The main principle: the weight sits close to the body and in the middle. If a heavy item is far from the back or right at the top, the backpack pulls backwards and the body has to lean forwards to compensate. This tires the shoulders and back, and makes it harder to keep your balance on uneven terrain.
-
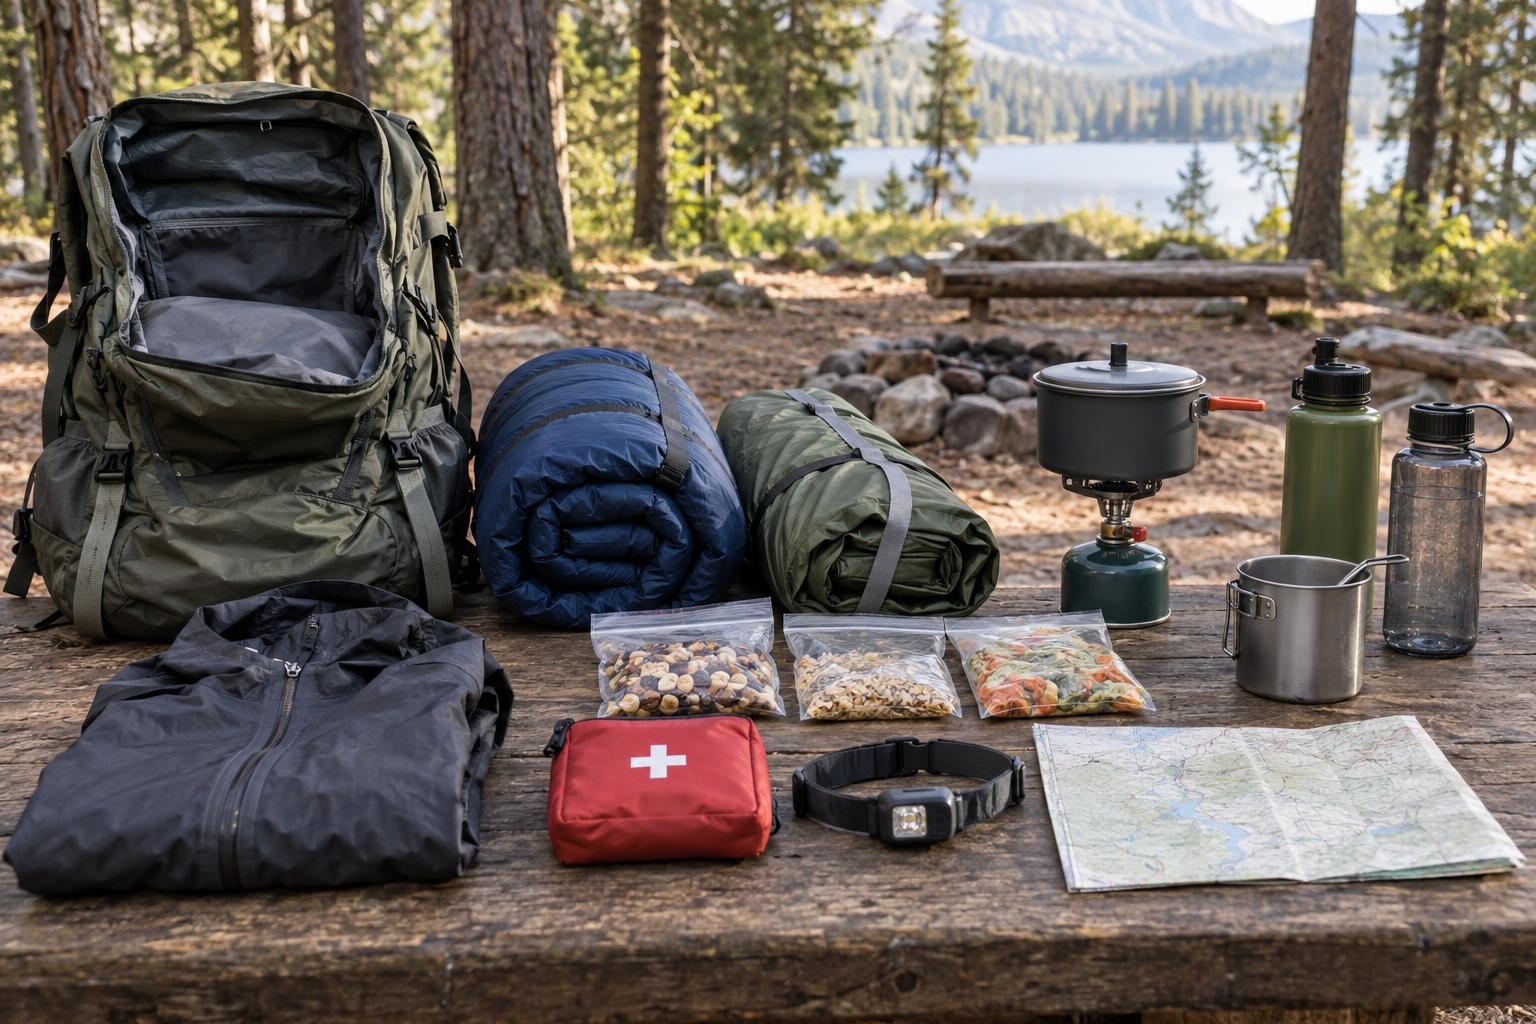
At the bottom: light and bulky items
Sleeping bag, spare clothes, everything needed only at camp. This part forms a soft base.
-
In the middle, next to the back: heavy items
Water reserve, food, stove and pot. Place them against the back panel, roughly between the shoulder blades and the waist.
-
In the middle, further from the back: medium-weight items
Tent, warm layer. Use them to fill gaps so that the heavy items do not shift.
-
At the top: items needed on the way
Rain jacket, first-aid kit, snacks, head torch.
-
In the pockets: small items
Phone and snacks in the hip-belt pockets, water bottle in the side pockets. You can take them out without removing the backpack.
Both sides should weigh the same: if one side pocket holds a full water bottle, put something of similar weight in the other. Attach as few items as possible to the outside, because they swing and catch on branches.

How to adjust a backpack
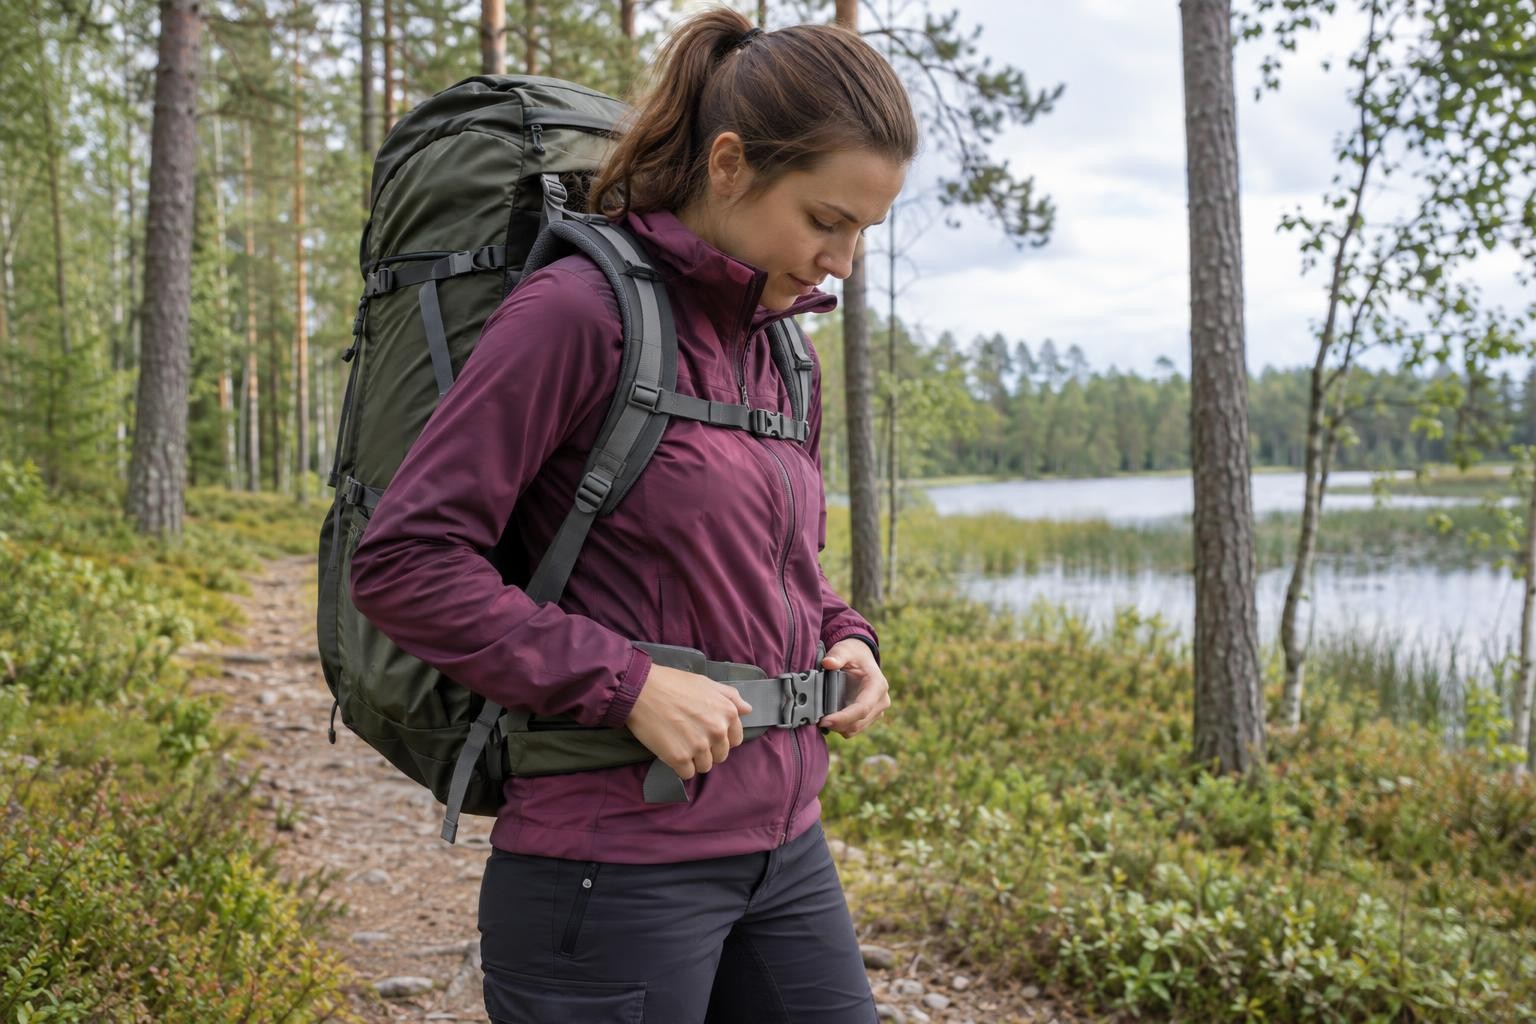
A correctly adjusted backpack transfers most of the weight to the hips. The shoulder straps mainly hold the backpack against the body. Adjust it with a loaded backpack, in this order:
-
Loosen all straps
Put the backpack on and loosen the shoulder straps and the stabiliser straps.
-
Hip belt
Position the belt so that its padding covers the upper part of the hip bones, and tighten it firmly.
-
Shoulder straps
Tighten them so that they fit snugly against the shoulders but do not carry the whole weight. The straps should lie on the shoulders without a gap.
-
Stabiliser straps
Tighten the straps that connect the shoulder straps to the top of the backpack so that the backpack does not fall backwards.
-
Chest strap
Fasten it a few centimetres below the collarbones and tighten it only enough to stop the shoulder straps from slipping sideways.
Adjust the backpack again on the way: on an ascent the hip belt needs to be tighter, while during a long rest the straps can be loosened.

Day hike checklist
- Water; more than seems necessary in hot weather and on a longer hike
- Food and snacks
- Rain jacket and a warm layer, even if the forecast is good
- Charged phone, power bank and an offline map or GPX file downloaded in advance
- First-aid kit with plasters and blister plasters
- Head torch, if there is even a slight chance of returning in the dark
- Tick and mosquito repellent; headwear
- Spare socks
- Bag for rubbish
- Knife, identity document, payment card
Before setting off
If possible, weigh the loaded backpack. Then remove everything you did not use on your last hike, except the first-aid kit, rain clothing and head torch. Walk around the house or neighbourhood with the loaded backpack for half an hour: if something presses or chafes, it is better to find out there than in the middle of a forest.
You will find routes in the section Hiking.